

Tradovate Keypad Setup in 1–2 Hours for Prop Desks with Key-trade Templates
Yes, an external programmable keypad works with Tradovate. You connect the device, install its vendor utility or driver, map each button to a Tradovate hotkey (or route it through middleware if a hotkey doesn’t exist), and confirm every mapping in demo mode before it touches a live account. The whole process usually takes some hours for a basic buy/sell/flatten layout, longer if you’re building join-offset or partial-close macros.
TL;DR:
- Most programmable keypads can work with Tradovate if they send standard keystrokes, but setup time and complexity depend on custom macros and hotkey support.
- Confirm your operating system’s compatibility, administrator rights, and Tradovate workspace permissions before starting the setup to avoid common integration issues.
- Mapping should focus on simple, single keystroke commands, testing everything in demo mode with account scoping confirmed to prevent costly errors.
- Using preconfigured layouts from vendors like Key-trade can significantly reduce setup time and improve reliability for trading-specific functions.
- Regular testing, careful account scoping, and firmware updates are essential to maintain a stable and responsive keypad setup in live trading.
Table of Contents
- Prerequisites for a Tradovate Keypad Setup
- How Do You Set Up a Tradovate Keypad Step by Step?
- Sample Mapping Layouts for Fast Order Execution
- How Do You Test Keypad Mappings Safely?
- Common Setup Problems and How to Fix Them
- What Actually Matters When You Wire Hardware to Tradovate
- Get Tradovate-Ready Hardware Without Building It From Scratch
- Sources
- FAQ
Prerequisites for a Tradovate Keypad Setup
Before you plug anything in, get the software side sorted. Most integration headaches trace back to a skipped prerequisite, not a bad mapping.
Tradovate runs on Windows and macOS through the browser or desktop app, but driver installs for most keypads assume Windows, so confirm your vendor supports macOS if that’s your workstation. You’ll also need administrator rights on the machine to install drivers, since most IT-locked prop desk laptops block unsigned installers by default.
Before connecting hardware, check that your Tradovate workspace lets you edit hotkeys under Tools. Some prop firm accounts run on locked or template workspaces that restrict changes, and you don’t want to discover that mid session.
- Confirm OS compatibility and available USB or USB-C ports on your trading rig
- Verify admin rights to install the keypad’s driver or configuration utility
- Check that your Tradovate account tier allows hotkey editing under Tools
- Install the vendor’s pairing software, which is what translates button presses into keystrokes or macros
- Decide upfront whether each button sends a single keystroke, a modifier chord, or triggers a local middleware script
- Export or screenshot your current Tradovate hotkey settings as a backup before you start remapping
That last point matters more than it sounds. Vendor utilities that send raw OS-level keystrokes, as Keyboard Trader’s setup documentation explains, depend entirely on what the trading platform itself supports as a hotkey. If Tradovate doesn’t expose a function as a hotkey, no amount of keypad programming will fake it without middleware.
How Do You Set Up a Tradovate Keypad Step by Step?
Once the prerequisites are handled, the actual configuration follows a predictable sequence. This is where most of your setup time goes, and it’s worth doing once, carefully, rather than tweaking live.
- Connect the keypad via USB and run the vendor’s pairing utility. Many devices, including Stream Deck style controllers used by futures traders, walk you through signing into a portal, downloading a plugin, and pairing with a code, as TradingPlace documents for its account templates.
- Create a dedicated Tradovate profile in the vendor software rather than reusing a general desktop layout. This keeps trading macros isolated from whatever else you use the keypad for.
- Assign physical buttons to either simple keystrokes or short macros, depending on the action.
- Open Tradovate, go to Tools, then Hotkeys, and map the corresponding actions. The full Tradovate Web hotkey list covers SuperDOM, Chart, Order Ticket, and Order modules, including Buy Market, Sell Market, Join Bid, Join Ask, Reverse, and Cancel All.
- Test a basic buy then close sequence in demo mode before mapping anything more complex.
Stick to single, unique keystrokes wherever possible. A mapping that requires three modifier keys held in sequence introduces exactly the kind of delay a keypad is supposed to eliminate, and it’s more prone to misfires under stress.
Pro Tip: Write your final mapping scheme down in a spreadsheet, physical button by physical button, before you touch Tradovate’s hotkey menu. It takes ten minutes and saves you from remapping the same button twice because you forgot what it already does.
Sample Mapping Layouts for Fast Order Execution
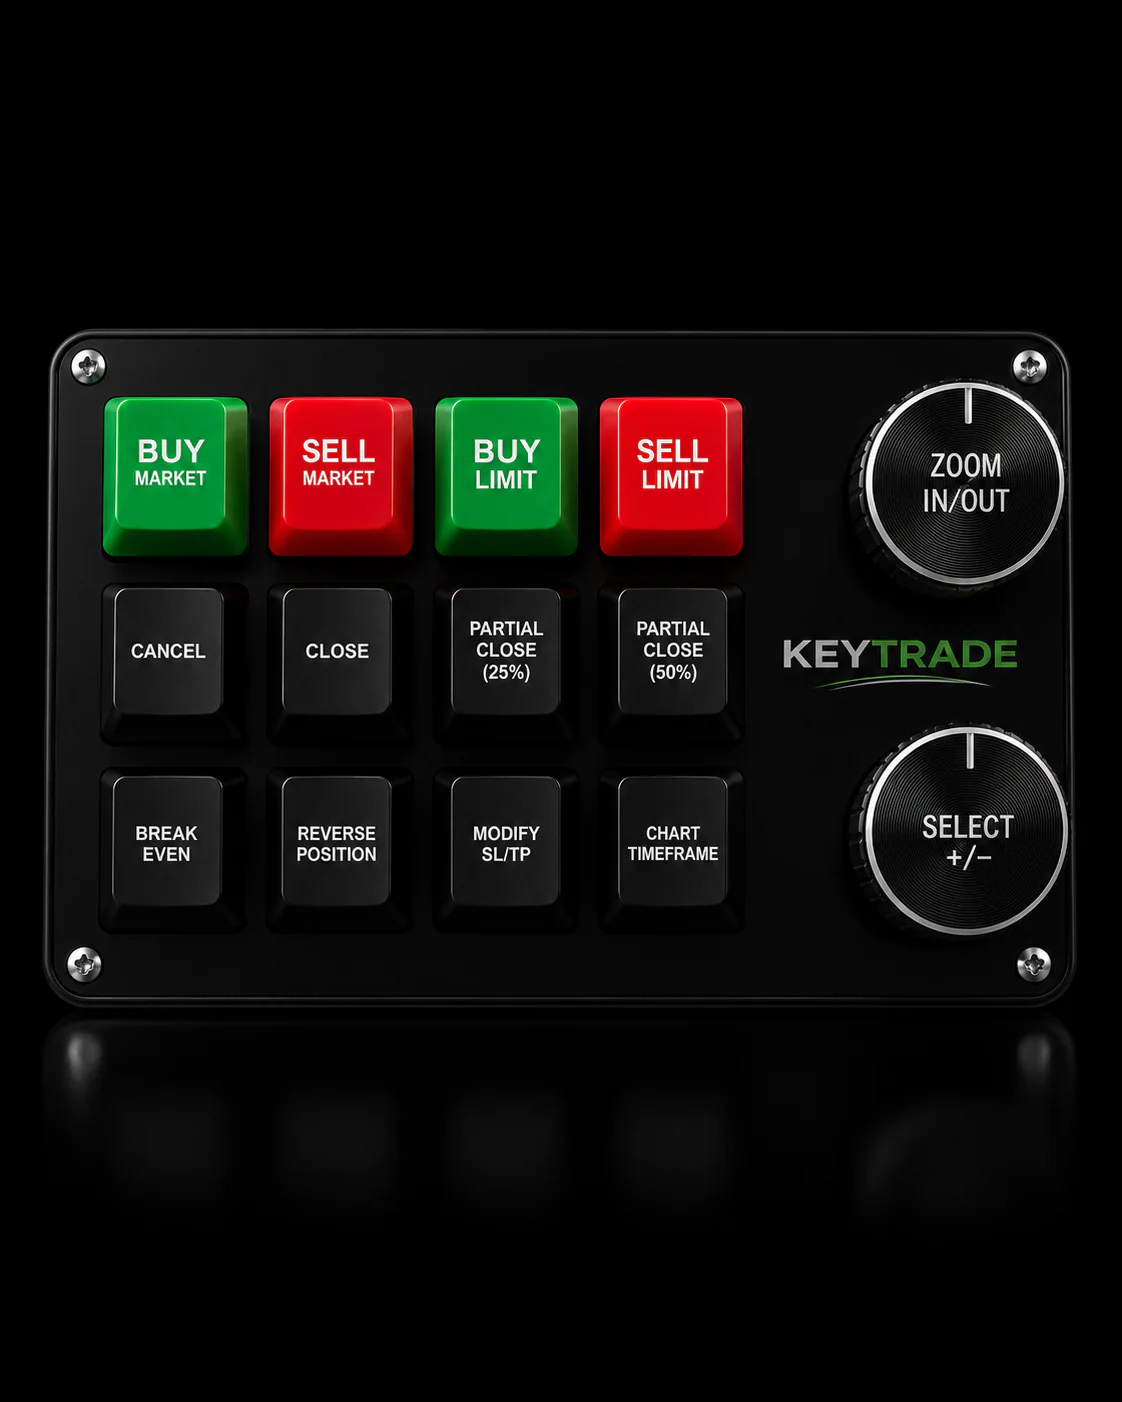
A working layout usually clusters around five job categories: entry, exit, reversal, offset joining, and scaling. Here’s how experienced desks typically split those across a 10 to 15 button device.
- Market entry and exit: dedicate two adjacent keys to Buy 1 Market and Sell 1 Market, then place a separate, physically isolated “Flatten” key somewhere you can hit it without looking, ideally a different color or raised button if your device supports it.
- Reverse and flatten macros: a Reverse key should flip your net position size, not just close and reopen blindly. Test this specifically in demo, since a reverse macro built on the wrong order size can double your exposure instead of flipping it.
- Join bid/ask offsets: Tradovate’s native hotkeys cover Join Bid and Join Ask directly, but joining at a specific offset (bid minus two ticks, for example) isn’t natively supported. Traders on the Tradovate community forum have solved this with a local script pattern: the button triggers the Join Bid hotkey, sends a repeated “move selection down” keystroke N times, then fires Send Order. That sequence avoids the race conditions you get trying to replicate the same thing with rapid UI clicks.
- Partial close and scale-out: since Tradovate doesn’t expose a native “close X contracts” hotkey for arbitrary quantities, this is where vendor macros or middleware fill the gap, sending a quantity field entry followed by a close command.
- When native hotkeys fall short entirely: some traders lean on the Tradovate API for advanced automation, using a scoped API key with restricted permissions rather than a full-access credential, which limits the damage if that key is ever compromised.
Pro Tip: Never generate a broad, all-permissions API key for a keypad macro. Scope it to the minimum actions it needs, the same way you’d hand out a limited access card instead of a master key.
How Do You Test Keypad Mappings Safely?
Testing is not optional, and it’s not a five-minute formality. It’s the difference between a keypad that speeds up your trading and one that eventually fat-fingers a live account.
- Run every single mapped button in a demo account first, including edge cases like partial fills and a reverse while already in a position.
- Time your order entry before and after the keypad is active. Traders who build dedicated DOM workspaces and hotkey mappings routinely cut order entry time from several seconds down to sub-second, according to TradingToolsHub’s setup guide.
- Double check account scoping in your vendor utility. If your device or plugin follows account selection, confirm it’s locked to the account you intend to trade, not a stale default.
- Confirm you have a backup keyboard mapping and a tested emergency cancel key before switching to live size.
- Run through a short go-live checklist: hotkey backup saved, emergency Flatten and Cancel All tested, demo run completed without a single misfire, live order size set conservatively for the first session.
Don’t skip step three. Account scoping errors are the single most common way a keypad integration goes wrong on a prop desk running multiple funded accounts side by side.
Common Setup Problems and How to Fix Them
Most keypad issues fall into a handful of repeat offenders, and nearly all of them are fixable in minutes once you know what to check.
Focus and windowing problems top the list. If Tradovate isn’t the active window, your keystrokes go nowhere, or worse, into whatever app does have focus. Either keep Tradovate maximized and active, or use middleware that scopes its keystrokes specifically to the Tradovate process.
OS-level hotkey conflicts are the second most common issue. Windows and macOS both reserve certain key combinations system-wide, and if your keypad happens to send one of those combinations, the OS intercepts it before Tradovate ever sees it. Disable the conflicting system shortcut or remap the button to an unused combination.
- Add a debounce delay or require a modifier key on high-risk actions like Reverse or Cancel All to prevent an accidental double press
- Use a wired USB connection rather than Bluetooth, since wireless latency undermines the entire point of a hardware keypad
- Set your machine’s power plan to high performance to avoid USB polling delays during active sessions
- Schedule a periodic check of your mappings and firmware, since a driver update can silently reset custom profiles
Pro Tip: Put your Cancel All and Flatten keys somewhere your hand naturally rests, not tucked in a corner. The best mapping in the world is useless if panic makes you fumble for it.
Account scoping in vendor plugins, the same pairing pattern TradingPlace uses for its templates, is worth revisiting here too. Locking a profile to one account is a small habit that prevents an expensive mistake.
What Actually Matters When You Wire Hardware to Tradovate
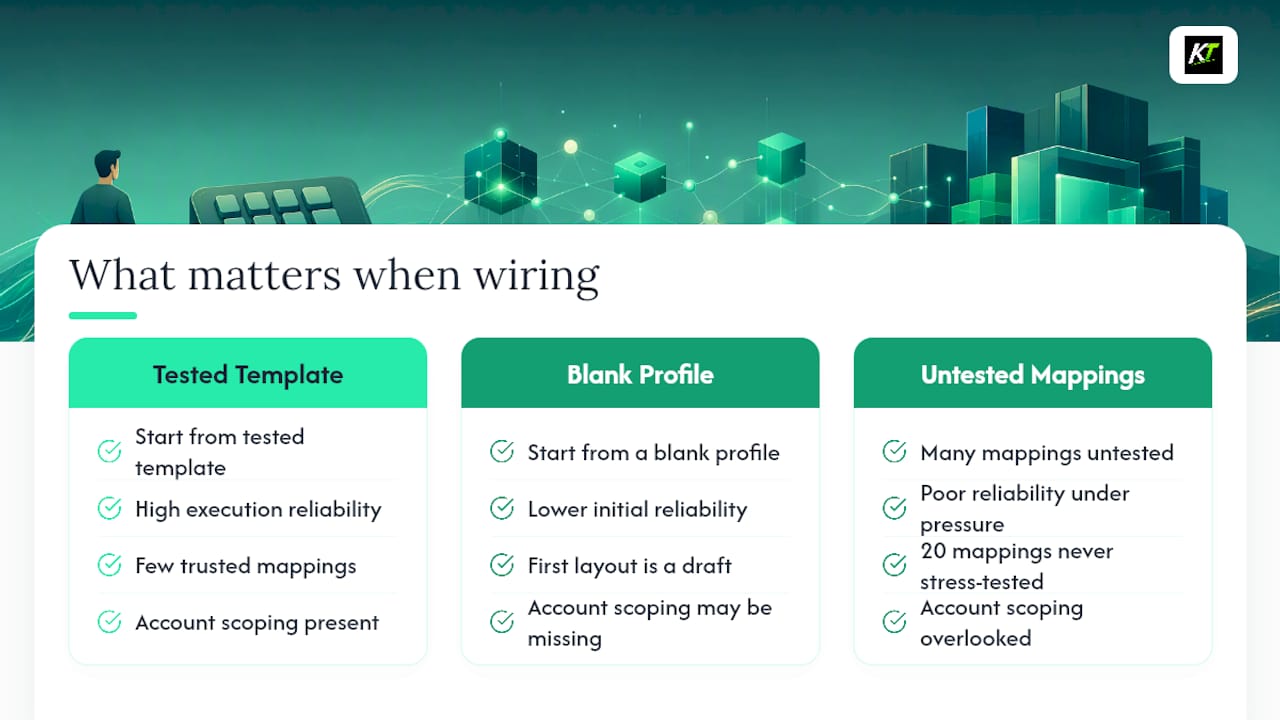
Most guides treat keypad integration as a one-time technical task. It isn’t. The mapping you build on day one rarely survives contact with real market conditions, and the traders who get the most out of hardware integration are the ones who treat their first layout as a draft, not a finished product.
Some vendors build Tradovate-ready layouts specifically because starting from a tested template beats starting from a blank profile. Execution reliability and account scoping matter more than how many buttons you can cram onto a device. A 20-button keypad with three mappings you actually trust under pressure outperforms a 20-button keypad with 20 mappings you’ve never stress-tested. Go live only after your demo runs are clean and your emergency keys are second nature.
— key-trade
Get Tradovate-Ready Hardware Without Building It From Scratch
You don’t have to map every button from a blank slate. Some vendors provide physical trading keypads with Tradovate-ready layouts already configured, so entry, exit, reverse, and cancel functions come pre-mapped instead of pieced together over a weekend of trial and error. Every device ships worldwide with setup documentation and support access for building custom profile templates.
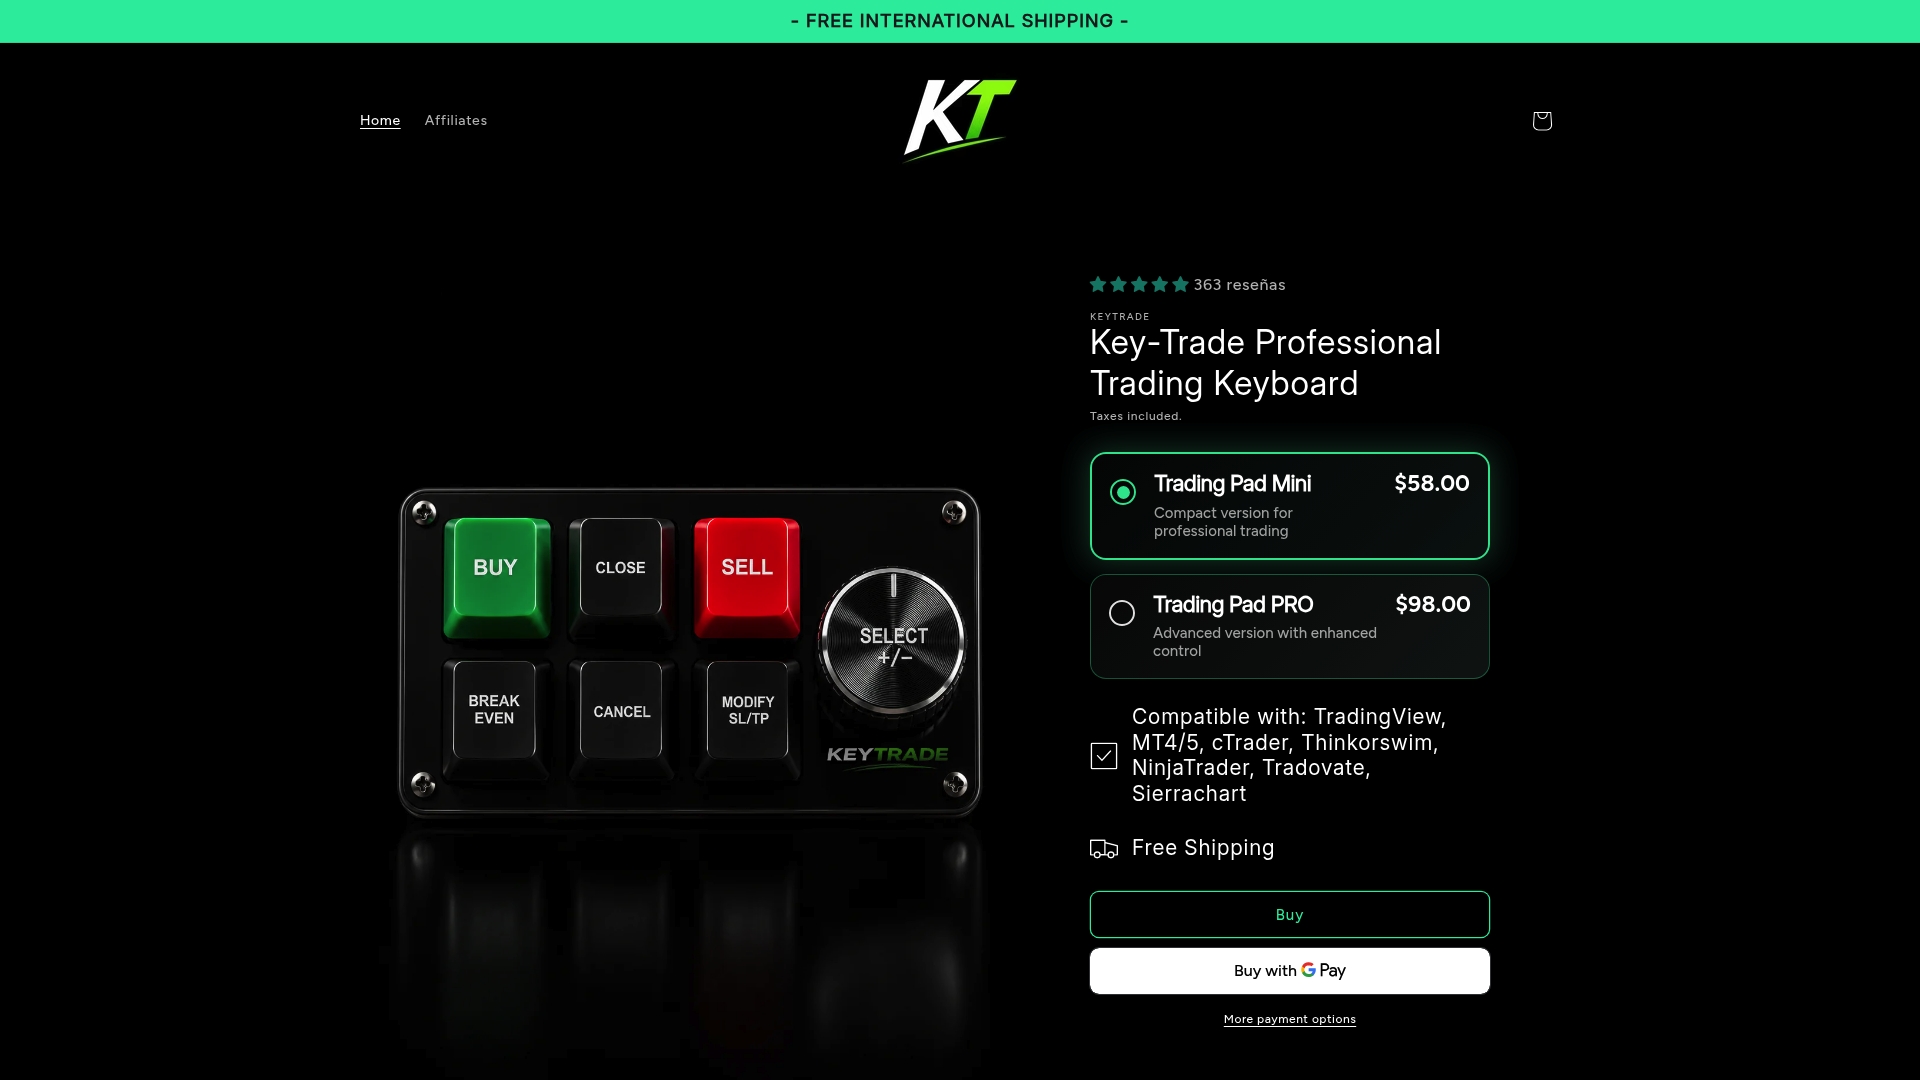
Browse the Key-trade trading keyboard lineup to see which button layout matches your order flow, whether that’s straightforward market entry and exit or more advanced join-offset and partial-close macros. If you need a profile template adjusted or run into a mapping question specific to your setup, reach out through Key-trade’s support page for template files and troubleshooting help. Whatever configuration you land on, run it through a full demo session before you connect it to a funded or live account.
Sources
Verify hotkey names against the official Tradovate hotkey reference and the join-offset forum thread for real trader workarounds.
- Complete List of Hotkeys - Tradovate Web
- Join + or - sme number of ticks with hotkey - Trader Desktop - Tradovate Forum
- Stream Deck Trading Controls for Futures Accounts | TradingPlace
- FAQ | Keyboard Trader | Futures Trading Software
FAQ
Can I Use Any Programmable Keypad With Tradovate?
Most programmable keypads work with Tradovate as long as they can send standard keystrokes or key combinations, since Tradovate’s hotkey system reads regular keyboard input rather than requiring a specific device brand.
Does Tradovate Have a Native Hotkey for Join Offsets?
No. Tradovate’s native hotkeys cover Join Bid and Join Ask directly, but joining at a specific tick offset requires a local script or middleware macro, as traders describe on the Tradovate community forum.
How Long Does a Basic Tradovate Keypad Setup Take?
A basic working configuration, covering buy, sell, and flatten, typically takes about an hour or two to build and test, according to Keyboard Trader’s setup guidance.
Should I Test My Keypad Mapping in a Demo Account First?
Yes, every mapping should run through demo trading first, including partial fills and reverse sequences, before you switch to a live or funded account.
Does Key-Trade Offer Preconfigured Layouts for Tradovate?
Key-trade provides Tradovate-ready keypad layouts and setup support designed to cut down the time it takes to get a reliable, tested configuration running.