

5 Step cTrader Keypad Setup for Pros: Redundant Flatten and Cancel
A dependable cTrader keypad setup pairs a programmable hardware device with a proper cTrader integration, meaning a cBot and indicator installed in Automate, not a keyboard-emulation shortcut. Test it in a demo account before it touches a live one. Your next move is straightforward: download the device’s cTrader integration package, load it into Automate, and run it in SIM first. Some manufacturers build dedicated keypads for professional traders designed to support similar workflows.
TL;DR:
- Proper setup requires testing the keypad in a demo account before connecting it to a live cTrader account, ensuring reliable performance during market activity.
- Use wired USB connections for the keypad, confirm firmware and driver support for your operating system, and back up button profiles to prevent data loss from firmware updates.
- Map safety functions like flatten and cancel to multiple physical pathways, including backup mouse buttons or keyboard shortcuts, to minimize risks during execution errors.
- Verify hotkey mappings match the cBot’s settings, and perform fault drills across focus states and under heavy load to ensure consistent and quick responses in real trading conditions.
- Prefer cBot or API-based control over keyboard emulation for lower latency and reliability, and regularly retest mappings after firmware updates or configuration changes.
Table of Contents
- What You Need Before Setting Up Ctrader Keypad Controls
- How Do You Install and Map a Keypad in cTrader Automate?
- Recommended Button Mappings for Execution and Risk Control
- How Do You Test and Verify a Keypad Setup Works?
- Troubleshooting Common cTrader Keypad Problems
- Key-Trade’s Approach to cTrader Integration
- Customizing Keypad Buttons Beyond the Defaults
- Choosing a Keypad Model That Fits cTrader
- Advanced Automate Settings for Keypad Integration
- Optimizing Your Keypad Layout to Cut Execution Errors
- Why a Safety-First Mindset Beats a Speed-Only One
- Get Your cTrader Setup Running With the Right Hardware
- Sources
- FAQ
What You Need Before Setting Up Ctrader Keypad Controls
Before touching a screwdriver or opening Automate, confirm your foundation is solid. cTrader Desktop is the platform you need, since browser and mobile versions don’t support Automate or third-party integrations. Windows handles most integrations natively; Mac users should confirm their specific keypad vendor supports macOS drivers before buying, since some do not.
Run everything on a demo or SIM account for the first sessions. There is no reason to risk live capital while you’re still confirming a cBot fires correctly.
Here’s what to gather before you start:
- Hardware: a programmable keypad (or a general-purpose device like an Elgato Stream Deck) connected by wired USB, not Bluetooth, for latency reasons
- A secondary mouse with side buttons, useful as a backup input path for critical actions
- Device firmware or companion app, downloaded directly from the vendor
- The cTrader integration files, meaning the cBot and indicator built for your device
- Permission to allow inter-process communication between the device app and cTrader, since some firewalls block this by default
One overlooked step: back up your device’s button profile once it’s built. Onboard memory can be wiped by a firmware update, and rebuilding a 20-button layout from memory mid-week is not how you want to spend a Tuesday.
How Do You Install and Map a Keypad in cTrader Automate?
Getting a keypad talking to cTrader is a five-step process, and skipping the order tends to cause the “cBot installed but nothing happens” complaint that fills forum threads.
- Install the vendor app and validate the device. Plug in the keypad, install its companion software, and confirm your operating system recognizes it as a standard input device. If Windows doesn’t see it in Device Manager, nothing downstream will work.
- Download the cTrader integration package. Most dedicated keypad vendors and community-built tools distribute a cBot and an indicator that need to sit inside cTrader’s Automate tab. Magic Keys’ setup documentation walks through this exact process, and it’s a fair template for most hardware integrations even outside that specific product.
- Add the cBot and indicator in Automate, then run a single instance. Open Automate, import both files, and start the cBot on one chart only. Running duplicate instances is a common source of double-fired orders.
- Enable Auto-Restart and confirm single-instance behavior in settings. This keeps the cBot listening for hotkeys even after cTrader reconnects or restarts, which happens more often than most traders expect during a live session.
- Map each physical button to the cBot’s hotkeys and save the profile. Test one button at a time rather than mapping all twenty and hoping.
A useful reference case is StreamDeckHotkeys, a cTrader Store cBot built specifically for Elgato Stream Deck hardware. It ships with predefined mappings for BUY, SELL, lot adjustments, break-even, and partial closes at 50/75/90/100 percent, giving you a working template of what a full button set looks like before you design your own. Stream Deck integrations often lean on socket-based, low-latency communication rather than simulated keystrokes, and some remain in active development, so expect occasional setting changes as the underlying tools evolve.
Pro Tip: Map and test one button, confirm it in a demo chart, then move to the next. Mapping all your buttons in one sitting and testing at the end makes it far harder to isolate which mapping actually broke.
Recommended Button Mappings for Execution and Risk Control
Think of your keypad layout in three tiers, not one flat grid of buttons.
Tier 1 is safety, and it should be redundant. Flatten and Cancel need to exist on at least two separate physical inputs, meaning the keypad and a backup mouse button or keyboard shortcut, so a single stuck key or misfire never leaves you unable to exit a position.
Tier 2 is execution: buy, sell, lot decrease/increase, and lot-size presets for your standard position sizes.
Tier 3 is utility: workspace switching, screenshot capture, chart layout toggles. Nothing here should ever share a color or position with a Tier 1 button.
Concrete button set to start from:
- Buy / Sell (large, centered, high-contrast keys)
- Lot− / Lot+ (adjacent, smaller keys)
- Partial close presets: 50%, 75%, 90%, 100%
- Break-even shortcut
- SL/TP offset adjustments (in pips or ticks)
- Flatten (isolated, distinct color, ideally physically raised or recessed)
- Cancel all pending orders
Color discipline matters more than it sounds. Reserve red exclusively for Flatten and Cancel so your hand finds them without a glance. Use device pages or profiles to swap layouts by instrument. Since ergonomics research on trading workstations points out, the most frequent errors trace back to two habits: skipping cross-focus testing and failing to build in redundant safety triggers. A layout that looks clean on paper but places Flatten next to a lot-size button is a layout waiting to cause a bad week.
One more structural choice matters: favor a cBot or API-based bridge over simple OS-level keyboard emulation. API-based integrations tend to be more reliable and lower-latency than software that just simulates keystrokes, particularly under heavy chart load.
How Do You Test and Verify a Keypad Setup Works?
Testing isn’t a formality here. It’s the difference between a setup that works in a quiet demo session and one that fails during a fast market when you actually need to Flatten to fire.
- Run slow-key tests first. Press each button individually in a demo account and confirm the exact expected action occurs, no more, no less.
- Run rapid-key tests. Fire buttons in quick succession to check for duplicate order submission or missed inputs, a common issue with cBots running multiple instances.
- Perform fault drills. Open a SIM position and deliberately trigger Flatten and Cancel from every physical pathway, keypad, backup mouse, and keyboard, to confirm each one closes the position independently.
- Test across focus states. Click into the chart, then the DOM, then click onto an unrelated window, and repeat your button presses each time. Community reports on cTrader’s forum note that focus state can change how hotkeys behave, so this step catches problems a single test session would miss.
- Simulate real load. Open multiple charts and indicators simultaneously, then recheck timing. Latency that’s invisible on one chart can become noticeable on six.
Pro Tip: Keep a written rollback plan taped to your monitor: which keyboard shortcuts replicate your Tier 1 buttons if the keypad itself fails mid-session.
Troubleshooting Common cTrader Keypad Problems
Most keypad issues fall into four buckets, and you can usually diagnose them in under five minutes.
- cBot or indicator missing from Automate: confirm both files actually imported, not just downloaded, and restart cTrader entirely rather than just the chart.
- Buttons do nothing: check that the device app’s key mapping matches the exact hotkeys the cBot is listening for. A mismatch here, even one keystroke off, is the single most common complaint.
- Intermittent failures: swap USB ports, skip USB hubs entirely, and update device firmware. Cheap or shared hubs introduce enough latency to cause dropped inputs during fast markets.
- Nothing responds at all: check firewall and permission settings. Both the device’s companion app and cTrader itself need explicit permission for inter-process communication, and a Windows update can silently reset those permissions.
If the cBot runs but responds inconsistently, confirm Auto-Restart is still enabled. Updates to cTrader occasionally reset Automate settings, and a cBot that restarted without Auto-Restart active will sit idle until you notice.
Key-Trade’s Approach to cTrader Integration
Certain companies build physical keypads with cTrader integration support alongside platforms like MetaTrader, NinjaTrader, and Tradovate, offering dedicated software add-ons rather than generic keyboard emulation. Setup recommendations generally advise storing button profiles on-device so layouts survive computer swaps, building in redundant mappings for critical functions, and always validating layouts in demo accounts before live use.
Setup guides and support are often available for configuring devices with cTrader. Support resources help address mapping issues that arise on specific hardware.
Customizing Keypad Buttons Beyond the Defaults
The default mapping most integrations ship with, buy, sell, close, break-even, is a starting point, not a ceiling. Once your Tier 1 safety buttons are locked in and tested, the remaining buttons are yours to shape around how you actually trade.
Scalpers tend to dedicate several buttons purely to lot-size presets tied to specific instruments, since resizing on the fly costs precious seconds. Swing traders often reassign those same buttons to SL/TP offset adjustments instead, since they manage fewer trades but manage each one longer. If you trade multiple instrument classes, forex majors versus indices, for instance, build separate device profiles or pages rather than cramming every function onto one static layout.
Advanced customization usually happens at the cBot level, not just the device app. Most cBot integrations let you edit the underlying hotkey assignments in the source parameters, meaning you can remap what “Button 7” actually does without touching the physical device configuration at all. That flexibility is where a keypad stops being a glorified numpad and starts functioning as an actual extension of your execution logic.
Whatever you customize, retest it. A remapped button that skips the fault-drill process defeats the entire point of tiered safety mapping.
Choosing a Keypad Model That Fits cTrader
Not every programmable keypad on the market plays well with cTrader, and compatibility comes down to a few practical filters rather than brand reputation.
First, check whether a cTrader-specific cBot or indicator already exists for the device, or whether you’d need to build the integration yourself using a general-purpose tool. General input devices like Elgato Stream Deck rely on community-built or third-party cBots such as StreamDeckHotkeys, which works but depends on that project staying maintained. Dedicated trading keypads, including Key-trade’s devices, ship with purpose-built software add-ons designed specifically for platforms like cTrader, which removes the guesswork of sourcing and troubleshooting a third-party bridge.
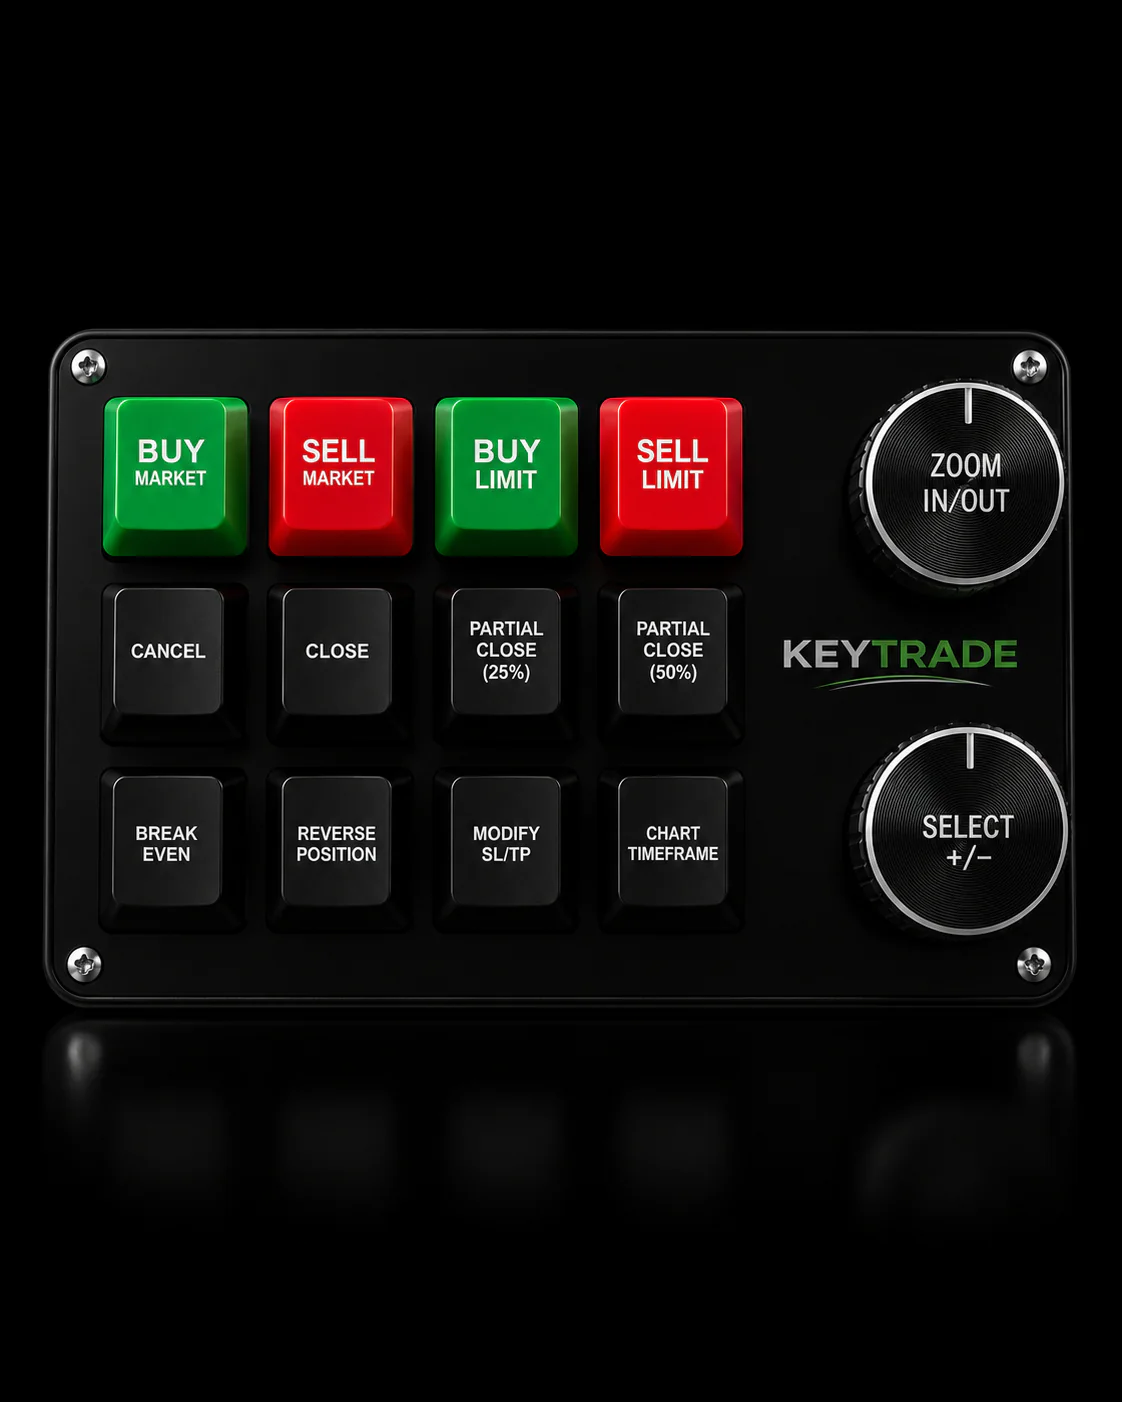
Second, count your buttons against your actual mapping needs. A tiered layout with redundant safety keys, execution buttons, lot presets, and partial-close percentages easily runs past 15 to 20 functions. A compact 6-key device forces compromises on redundancy that a 32-key layout doesn’t.
Third, confirm wired USB connectivity rather than wireless. Bluetooth introduces latency variability that matters when a Flatten command needs to land instantly, not after a brief pairing delay.
Finally, check onboard profile storage. A device that saves layouts locally survives a computer rebuild or OS reinstall without forcing you to reconstruct twenty button mappings from scratch.
Advanced Automate Settings for Keypad Integration
Automate gives you more control over keypad behavior than most traders use. Beyond the basic Auto-Restart and single-instance settings covered earlier, a few configuration details separate a functional setup from a genuinely reliable one.
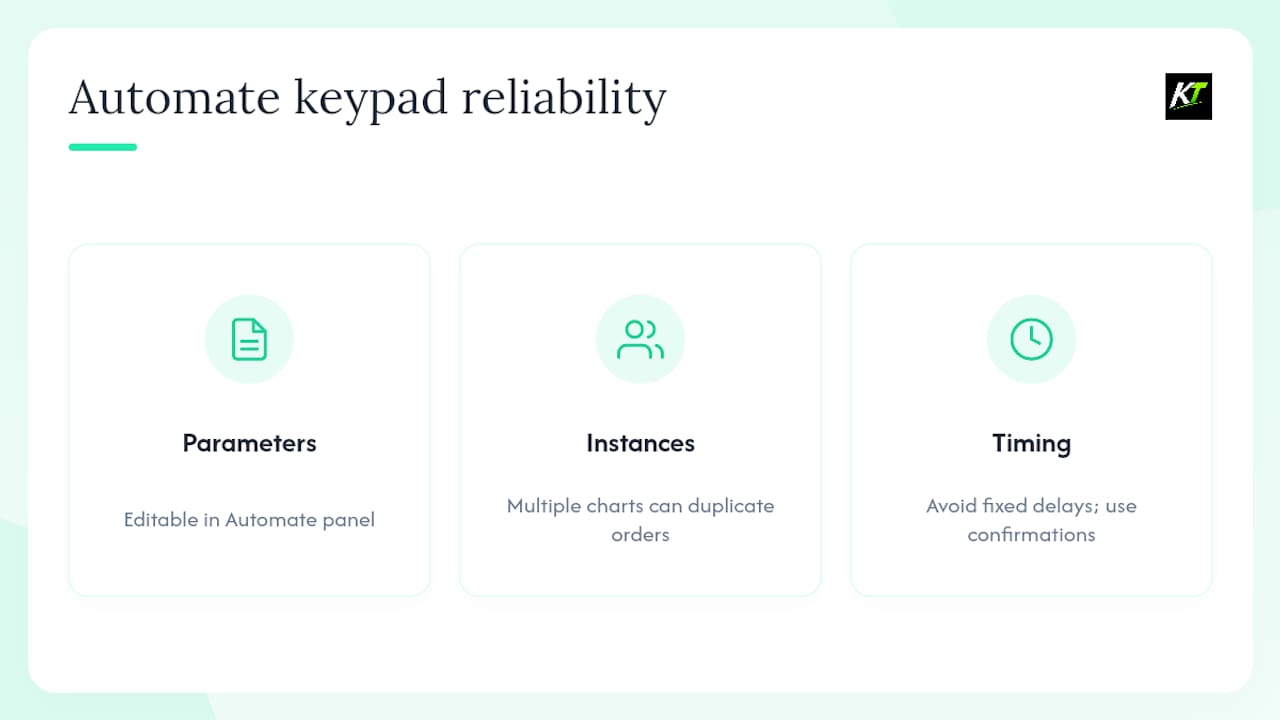
Parameter exposure matters. Well-built cBots expose editable parameters, hotkey bindings, default lot sizes, partial-close percentages, directly in Automate’s settings panel rather than burying them in code. That means you can adjust a partial-close default from 50% to 75% without touching a single line of source.
Instance management deserves particular attention. Running a cBot on multiple charts simultaneously, even by accident, can cause duplicate order submissions when a single keypad button fires. Automate’s log panel will show you exactly which instance responded to a given hotkey press, which is your first diagnostic stop if buttons start behaving unpredictably.
Timing and confirmation logic matter more than they get credit for. When scripting custom behavior or adjusting a cBot’s response logic, avoid building in fixed-delay assumptions about how fast cTrader responds. A cBot that assumes a 200-millisecond platform response will behave inconsistently the moment your chart load increases. Confirmation checks, verifying an order actually executed before triggering the next action, hold up far better under real trading conditions than timed guesses.
Optimizing Your Keypad Layout to Cut Execution Errors
Layout optimization is less about adding more buttons and more about making the right buttons impossible to miss under pressure. Physical differentiation helps enormously: raised, recessed, or oversized keys for Flatten and Cancel let your hand find them without looking, even six hours into a session when fine motor control has degraded.
Group by frequency of use, not by function category. If you check break-even far more often than you adjust SL offsets, break-even earns the prime real estate near your resting hand position, regardless of how the two functions relate logically.
Keep a consistent spatial memory across profiles. If Buy sits top-left on your forex layout, keep it top-left on your indices layout too, even if every other button changes. Muscle memory built for one profile shouldn’t have to be relearned for another.
Finally, resist the urge to map every possible function. A 40-button device with 38 buttons in use invites mis-presses. A tighter layout with only your highest-value actions mapped, backed by keyboard shortcuts for the rare edge cases, tends to produce fewer errors than a maximalist one.
Why a Safety-First Mindset Beats a Speed-Only One
Most keypad setup guides treat speed as the whole point, which misses what actually separates a professional setup from an amateur one. Speed without redundancy just means you fail fast. The setups that hold up under real pressure treat Flatten and Cancel as safety systems first, execution shortcuts second, mapped to multiple physical pathways precisely because a single stuck key or dead battery shouldn’t be able to trap you in a position.
The conventional advice to “map everything, test once” gets the order backward. Testing across every focus state, chart, DOM, no window at all, catches more real failures than adding a tenth button ever will. cBot and API-based integration deserves the same priority conventional guides underweight. Keyboard emulation is easier to set up, but it’s a shortcut that trades reliability for convenience, and reliability is the entire reason a trader buys dedicated hardware in the first place.
If you take one thing from this guide, take this: build your Tier 1 safety mapping before you touch anything else, and don’t consider the setup finished until you’ve run the fault drills yourself, in demo, under conditions that mimic a bad day rather than a calm one.
— key-trade
Get Your cTrader Setup Running With the Right Hardware
A keypad’s value lies in shortening the distance between decision and execution, which is a common design goal for trading hardware devices. Programmable buttons can handle partial closes, SL/TP edits, break-even, and lot-size presets, often with onboard profile storage to preserve layouts through computer changes.
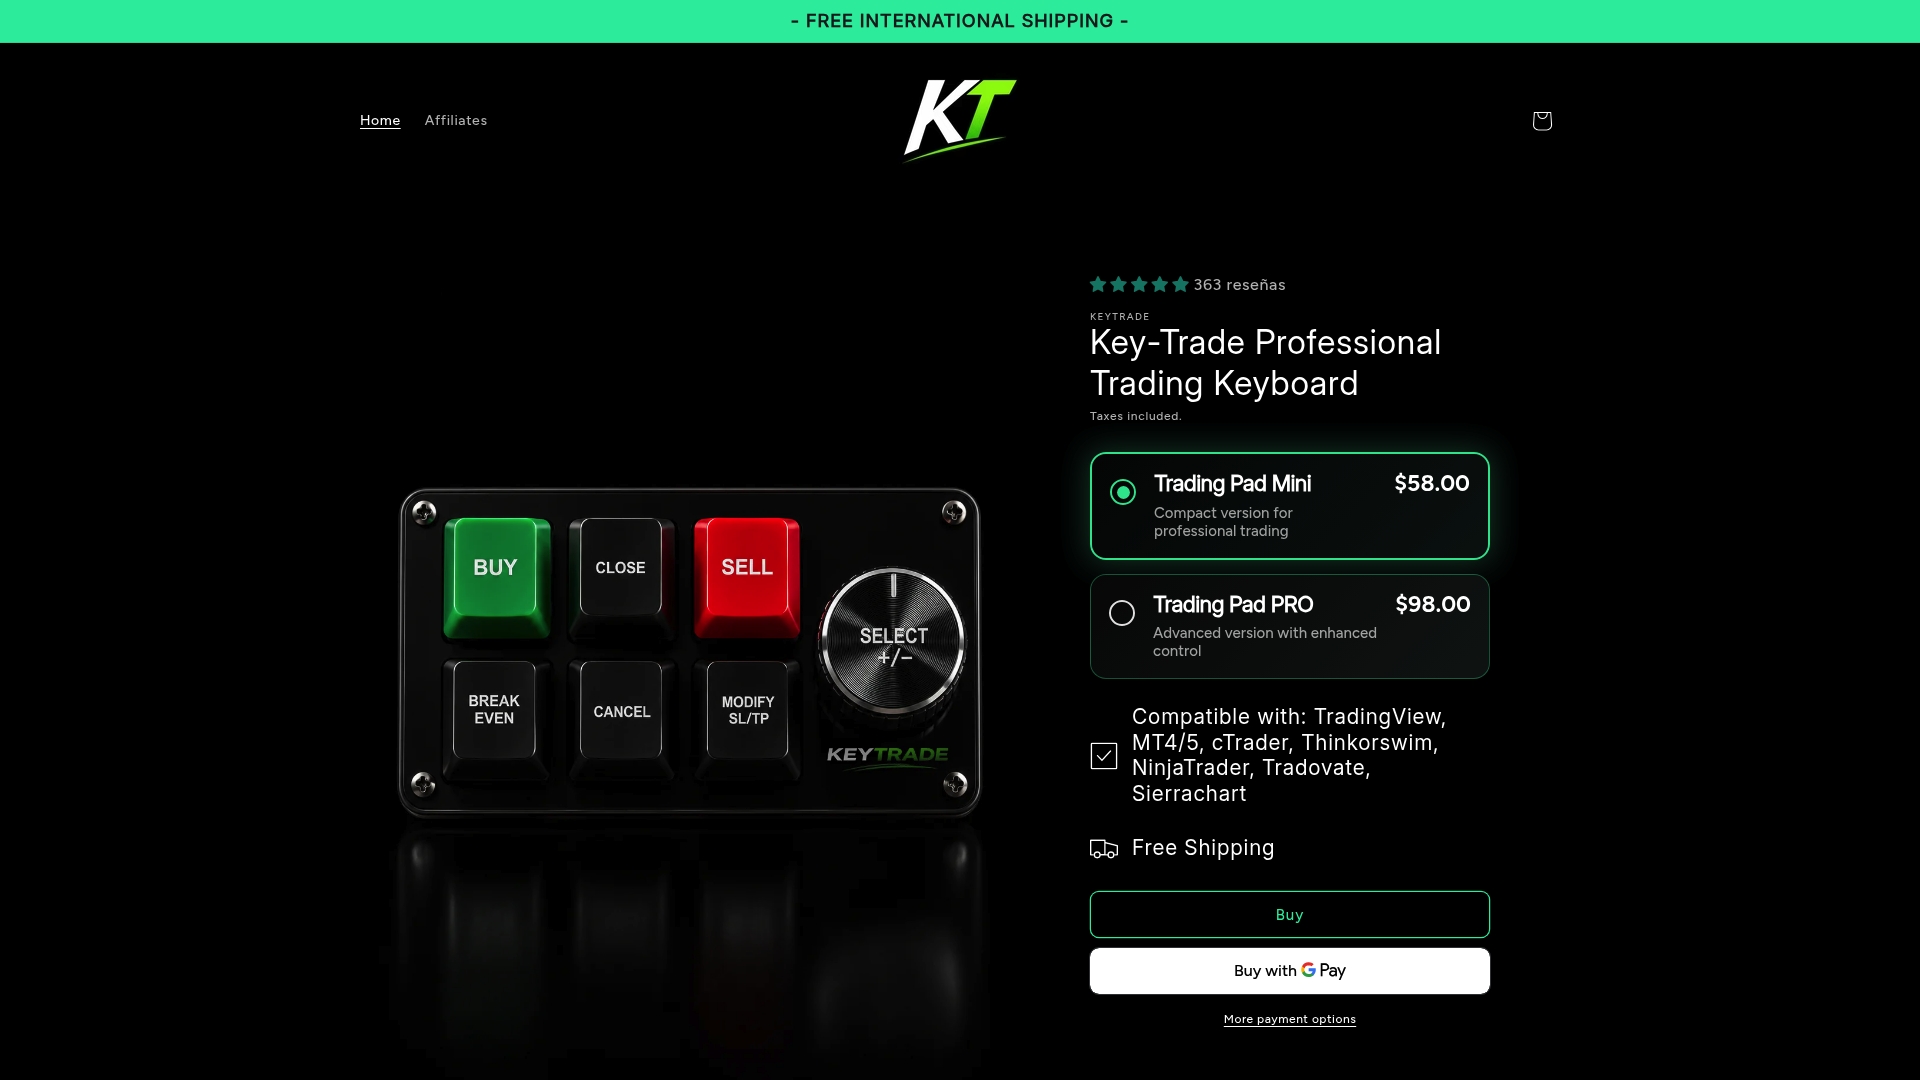
Devices are typically designed around principles such as redundant safety mapping, fast execution, and thorough testing in demo accounts before live deployment. If you’re assembling a setup for cTrader specifically, Key-trade’s trading keypads come with platform-specific software add-ons rather than a generic emulation layer, which means less time troubleshooting and more time trading. Check the current lineup, review setup documentation, or reach out to support with questions about mapping a device to your existing cTrader workflow before you buy.
Sources
A few sources are worth keeping open while you build your own setup. Magic Keys’ cTrader configuration guide walks through the Automate install steps in detail. StreamDeckHotkeys shows a working cBot example with real hotkey assignments. NexusFi’s ergonomics research covers safety mapping and fault-drill methodology. The cTrader community forum is useful for focus-state quirks specific to different Desktop versions.
- How to Configure Magic Keys with cTrader – Magic Keys
- StreamDeckHotkeys | Bot for cTrader
- Keyboard, Mouse, and Peripherals for Trading Workstations: The Setup That Reduces Execution Errors and Survives 6-Hour Sessions - NexusFi Academy
- StreamDeck 4 cTrader / StreamDeck integration notes
FAQ
Do I Need a Live Account to Set Up a Keypad?
No. Every step, from cBot installation to button mapping to fault drills, should happen on a demo or SIM account before you connect a keypad to a live cTrader account.
Can I Use a Stream Deck Instead of a Dedicated Trading Keypad?
Yes, using a cBot like StreamDeckHotkeys, though dedicated devices such as Key-trade’s keypads ship with purpose-built software add-ons designed specifically for platforms like cTrader instead of relying on a community-maintained bridge.
Why Won’t My cTrader Keypad Buttons Do Anything?
The most common cause is a mismatch between the hotkeys your device app sends and the hotkeys your cBot is actually listening for; recheck both mappings individually.
Should I Use Keyboard Emulation or a cBot Integration?
A cBot or API-based bridge generally offers lower latency and more predictable behavior than OS-level keyboard emulation, particularly when multiple charts are open at once.
How Often Should I Retest My Keypad Mapping?
Retest any time you change firmware, update cTrader, or remap a single button, since a change in one area can quietly affect Auto-Restart or focus-state behavior elsewhere.