

No confíes en un dispositivo de $200: Configuración de teclado de NinjaTrader para traders profesionales
Map every keypad button to a NinjaTrader hot key or custom order action, keep those mappings application-aware so they hit ChartTrader, SuperDOM, or Basic Entry as intended, and test each one in SIM before it ever touches a live account. That sequence, enable hot keys, assign actions, verify in SIM, is the difference between a keypad that speeds up execution and one that eventually fires an order into the wrong window. Skip the SIM pass and you’re trusting a $200 device with your account on faith alone.
TL;DR:
- Proper window focus and application-aware profiles are critical to ensure keypad buttons trigger the correct orders in NinjaTrader multiple trading panels.
- Testing each keypad button in SIM mode across all profiles and focus scenarios prevents accidental order misfires during live trading.
- Mapping keystrokes must match device programming exactly, especially if the keypad sends raw keystrokes rather than plugin-driven commands.
- Physical placement, color coding, and redundancy of critical buttons help reduce long-session errors and improve reaction times.
- Hardware designed specifically for trading, like dedicated keypads, offers better reliability and compatibility than repurposed gaming devices.
Table of Contents
- Setting Up a NinjaTrader Keypad: What You Need First
- How Do You Map Keypad Buttons to NinjaTrader Profiles?
- Configuring NinjaTrader Hot Keys for Custom Orders
- What’s the Right Way to Test a Keypad in SIM Mode?
- Desk Setup: Placement, Color, and Reducing Errors
- Key-trade’s Take: Enforcement, Not a Substitute for a Plan
- Get a Keypad Built for This Setup
- Where to Verify the Details
- Sources
- FAQ
Setting Up a NinjaTrader Keypad: What You Need First
Before you touch a single button, confirm the platform side is ready. Open Control Center, go to Tools → Options → Trading, and check that “Use order entry hot keys” is switched on. Without it, every mapped button is just a keystroke going nowhere.
From there, work through this checklist:
- Confirm your NinjaTrader build supports order-entry hot keys and custom order actions in the Hot Keys window.
- Install any keypad drivers or companion software the manufacturer provides, and note the firmware version in case you need to troubleshoot later.
- Determine whether your device sends raw keyboard shortcuts or talks to NinjaTrader through a plugin or API, since that decision shapes how you map every button.
- Sketch out the profiles you’ll need. Most desks land on three: Entry, Management, and Emergency.
- Block out a SIM testing window before you touch live capital, and decide on a manual fallback for critical actions in case a button ever misbehaves.
Pro Tip: Label your physical keys before you start mapping in software, not after. Trying to remember which unlabeled button does what while you’re staring at NinjaTrader’s Hot Keys screen is how mismatches happen.
How Do You Map Keypad Buttons to NinjaTrader Profiles?
The single biggest failure point in any NinjaTrader keypad setup isn’t the hardware. It’s window focus. Order-entry hot keys only fire in the active order-entry window, so a button mapped for ChartTrader can misfire or do nothing at all if SuperDOM has focus instead. Application-aware profiles solve this by changing what each button does depending on which window is live.
Structure your keypad around three profiles:
- Entry profile, for market and limit orders, active while ChartTrader or SuperDOM has focus.
- Management profile, for adjusting stops, moving to breakeven, taking partials, and scaling out.
- Emergency profile, dedicated almost entirely to flatten-all and cancel-all commands.
Map each action to a keyboard combination NinjaTrader recognizes consistently, or, if your device supports it, to a plugin-driven action that behaves the same way regardless of which sub-window is active. Either approach beats a raw keystroke that only works when one specific panel happens to be focused.
Naked market entries deserve friction, not speed. Require a modifier key or a two-step confirmation before any button sends size into the market without a bracket attached. Reserve true single-press execution for actions that carry no directional risk, like moving a stop to breakeven on a position you already hold, or a flatten command you’ve already decided you want available instantly.
Color and position matter more than most traders assume. Anything tied to risk, stop moves, flatten, cancel, should sit under a distinct color and, ideally, under your dominant hand where reaction time is fastest. Practitioner layouts for professional trading workstations consistently recommend duplicating critical commands in a second physical location, so a flatten command isn’t a single point of failure if one key sticks or a page switches unexpectedly.
Pro Tip: Put your flatten button in the same physical spot across every profile page. If Emergency lives in the top left on page one but bottom right on page two, you’ll hesitate at the exact moment you can’t afford to.
Configuring NinjaTrader Hot Keys for Custom Orders
Once your profiles are sketched out, the platform-side work happens inside NinjaTrader’s Hot Keys window, and it’s more granular than most traders expect on first pass.
Start with the basics:
- Open Control Center → Tools → Options → Trading and confirm “Use order entry hot keys” is checked. This is the master switch, and without it nothing downstream works.
- Inside the Hot Keys configuration, create a Custom Order action for each behavior you want a button to trigger. You’ll pick the order type (market, limit, stop) and, for limit orders, the offset in ticks from the current price.
- Add Custom Quantities as their own hot key assignments so a single button press sets an exact contract size, rather than defaulting to whatever quantity was last used.
- Assign the actual key combination for each order action and quantity, matching whatever keystroke your keypad is programmed to emit.
That last step is where mismatches happen most. If your keypad sends raw keystrokes, whatever combination you assign in the device’s own software has to match, character for character, what you enter into NinjaTrader’s Hot Keys window. Fat-finger a modifier key on either side and the button will either do nothing or trigger a different action than the one labeled on the keycap.
If you’re running a plugin-based setup instead of straight keystroke emulation, NinjaTrader’s own documentation on hot keys and custom order actions is the reference to follow, since plugin conventions can route around some of the window-focus quirks that plain keystrokes run into. Third-party plugins built specifically for NinjaTrader 8, like XABCD’s HotKey Automation, can extend this further with rotary-dial quantity adjustments and one-press ATM template switching, but confirm version compatibility before you build your entire profile scheme around a plugin dependency.
What’s the Right Way to Test a Keypad in SIM Mode?
No mapping is trustworthy until it’s been proven wrong in a demo account first, not proven right. SIM mode is where you find that out cheaply.
Run through this sequence before any live session:
- Go button by button across every profile, confirming each one triggers the correct action while ChartTrader has focus, then repeat the same check with SuperDOM and Basic Entry active.
- Deliberately break focus mid-sequence. Open a modal dialog, click away to another application, then press a mapped hot key. It should do nothing. If a button fires while a dialog has focus, that’s a mapping you fix before it fixes your account for you.
- Test full chained sequences exactly as you’d use them live: entry, immediate bracket attachment, partial close, then flatten. Single-step tests can look clean while a multi-step chain breaks on timing.
- Set explicit go/no-go criteria. If any button in any profile fails once, the whole profile goes back to testing, not just the one button.
Hot keys in NinjaTrader are inherently window-sensitive, which is exactly why this testing sequence has to run under realistic conditions, multiple windows open, dialogs popping up, focus shifting the way it actually does during a live session, not in a single quiet window with nothing else on screen. Log every test outcome, even the boring passes, so you have a record of what’s been verified when you eventually add a new profile or swap devices.
Keep your physical flatten button clearly labeled and color-distinct through every stage of this testing. It’s the one control you want your hand finding without a second of thought.
Desk Setup: Placement, Color, and Reducing Errors
Physical placement matters more over a six-hour session than most traders expect on day one. Keep your keypad within the natural arc of your dominant arm, next to your mouse and primary keyboard, so reaching for it never means a lateral stretch that breaks your eyes off the chart.
Practical layout rules that hold up over long sessions:
- Limit yourself to one or two primary device pages. Every additional page you have to cycle through adds a decision point, and decision points are where fatigue causes mistakes.
- Keep flatten and cancel visually distinct, ideally red, and in the same physical position on every page you use.
- Put your highest-frequency buttons closest to your dominant hand and give risk-critical actions a different texture or color than routine ones.
- Build in redundancy for the handful of commands you can’t afford to miss: a primary keypad button, a mouse side-button as backup, and a keyboard shortcut as a third fallback.
Practitioner writeups on trading workstation ergonomics consistently point to the same pattern: the traders with the fewest execution errors aren’t running the most elaborate setups. They’re running the smallest number of well-placed, well-labeled controls they’ve actually rehearsed under pressure.
Pro Tip: If you trade multiple instruments with different tick values, resist the urge to give each one its own dedicated page. Keep the layout identical across instruments and let the quantity or offset values change in the background. Muscle memory doesn’t care what you’re trading; it cares where the button is.
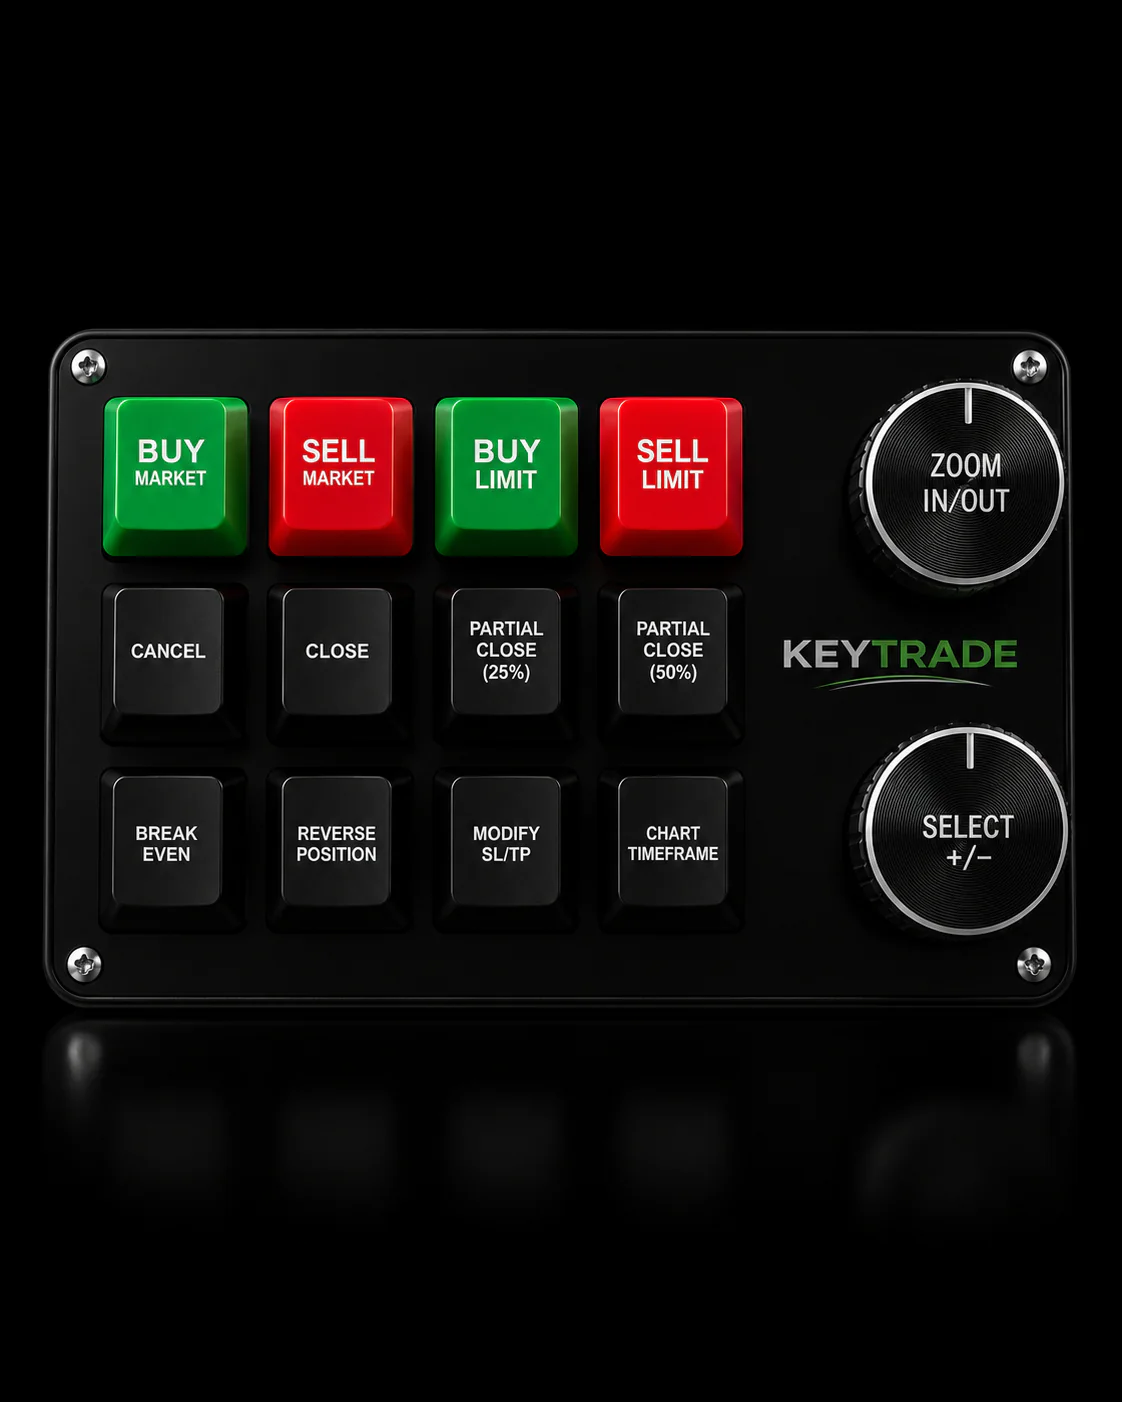
Key-trade’s Take: Enforcement, Not a Substitute for a Plan
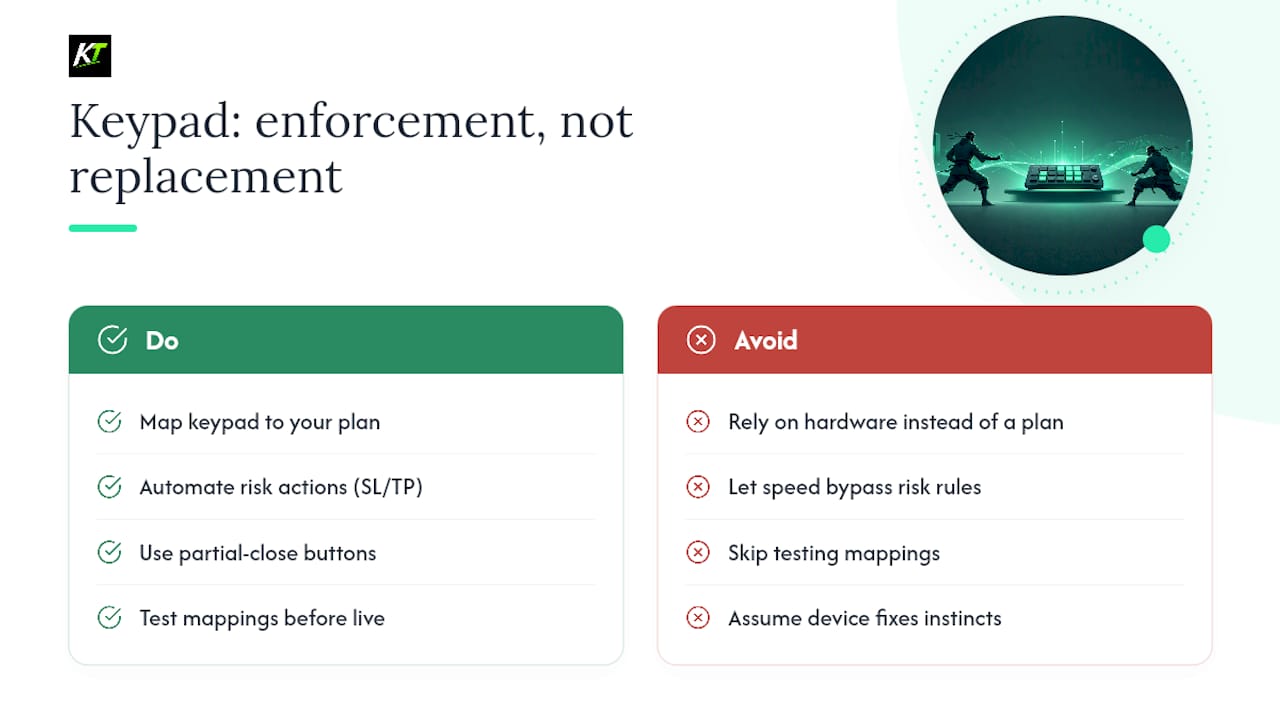
A keypad doesn’t make you a better trader. It makes you a faster, more consistent version of the trader you already are, for better or worse. If your risk rules are sound, a well-mapped keypad enforces them without hesitation, moving to breakeven or flattening a position the instant your plan says to. If your rules are shaky, a fast keypad just lets you act on bad instincts faster.
Devices exist that integrate across NinjaTrader alongside platforms like TradingView, MetaTrader, and Tradovate, with programmable buttons built for execution and risk-control actions, partial closes, breakeven shifts, SL/TP adjustment, order reversal. The hardware doesn’t replace your trading plan. It just removes the friction between deciding and doing.
— key-trade
Get a Keypad Built for This Setup
Everything above, application-aware profiles, hot-key mapping, SIM verification, redundancy for flatten and cancel, works best when the hardware underneath it was actually designed for this job rather than repurposed from gaming. Programmable keypads exist that are designed for active traders and prop desks running NinjaTrader, with dedicated buttons for order execution, partial closes, breakeven shifts, and stop or target adjustment, alongside compatibility across TradingView, MetaTrader, cTrader, Tradovate, and more.
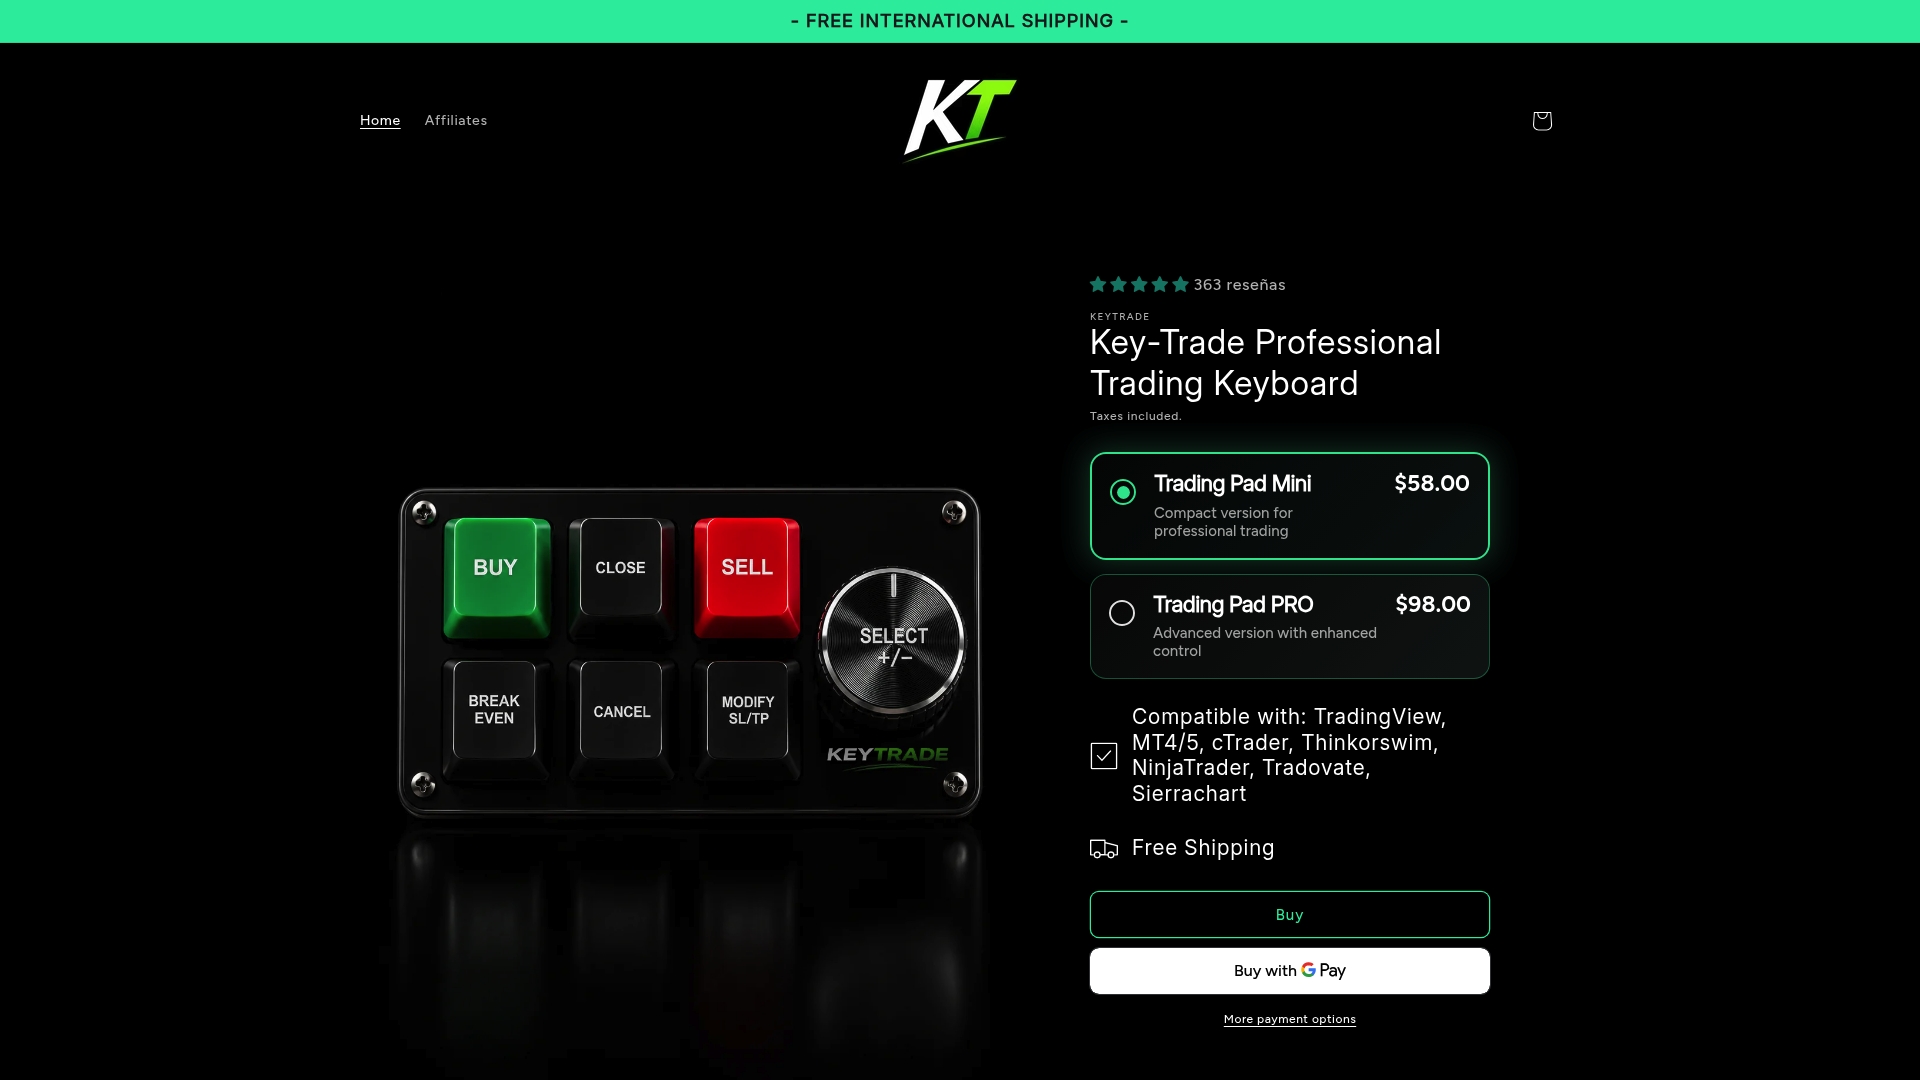
If you’re weighing whether a physical keypad fits your desk, the Key-trade lineup is worth a look before you build a mapping scheme around a repurposed macro pad. Visit the site to compare models, check platform compatibility for your setup, or reach out for help planning your button layout before it ships. Worldwide shipping means the device can be on your desk and running through a SIM test plan within days, not weeks.
Where to Verify the Details
For the platform side, NinjaTrader’s own Hot Keys Basics guide and its Trading with Hot Keys help documentation cover every setting referenced above in more depth than a single article can.
Sources
- Hot Keys Basics - NinjaTrader Desktop
- Trading with Hot Keys - NinjaTrader help guides
- Keyboard, Mouse, and Peripherals for Trading Workstations: The Setup That Reduces Execution Errors and Survives 6-Hour Sessions - NexusFi Academy
FAQ
Do I Need to Enable Anything in NinjaTrader Before Mapping a Keypad?
Yes. Order-entry hot keys are disabled by default, so you have to check “Use order entry hot keys” under Tools → Options → Trading before any mapped button will do anything.
Why Did My Keypad Button Fire the Wrong Order?
Almost always a window-focus issue. Order-entry hot keys only submit to whichever order entry window is currently active, so a button built for ChartTrader can misfire if SuperDOM has focus instead.
Should I Test Every Button Before Trading Live?
Sí, cada botón, en cada página de perfil, incluyendo secuencias encadenadas como entrada más paréntesis más cierre parcial, ya que las acciones de múltiples pasos pueden fallar en SIM de formas que las pruebas de un solo paso no detectarán.
¿Puedo establecer tamaños de lote personalizados en los botones del teclado?
Sí. NinjaTrader le permite crear cantidades personalizadas dentro de la ventana de teclas de acceso rápido (Hot Keys) y asignar a cada una su propia combinación de teclas, de modo que una sola pulsación de botón pueda establecer un tamaño de contrato exacto.
¿Reemplaza un teclado de trading la necesidad de un plan de riesgo?
No. Un teclado acelera la ejecución de decisiones que ya ha tomado; no toma esas decisiones por usted, razón por la cual Key-trade posiciona sus dispositivos como herramientas de ejecución creadas para hacer cumplir un plan existente, no para sustituirlo.