

Stop Misfires: Trading Keypad Inside Your Arm Arc for Active Traders
Your trading keypad belongs inside your primary arm arc, either left of your keyboard or directly beside your mouse hand, wherever your elbow sits near 90 degrees without stretching. For device choice, most active traders land on one of three types: a compact programmable keypad like the XBE-24 BEAR, a Stream Deck-style macro pad, or a full keypad with numpad like the Key-Trade Professional Trading Keyboard. Whichever you pick, duplicate your flatten or kill switch on a protected control and test every mapping carefully before it touches a live account.
TL;DR:
- Placing the keypad within your natural arm arc and at elbow height reduces reach and minimizes strain during trading sessions.
- Prioritize safety by mapping your highest-risk commands, like flatten or kill switches, on distinct, easily accessible buttons with redundancy.
- Use a device with onboard memory and a wired connection to prevent mapping loss or delay during fast market conditions.
- Test all mappings in a paper trading environment, firing commands repeatedly to identify accidental triggers and refine layout.
- For broad platform compatibility and integrated functionality, the Key-Trade Professional Trading Keyboard offers a dedicated, all-in-one solution.
Table of Contents
- Trading Keypad Ergonomics: Comparing the Top Device Types
- How Should You Position a Keypad on Your Trading Desk?
- What’s the Safest Way to Map Trading Keypad Buttons?
- How Do You Test and Verify Keypad Mappings Before Trading Live?
- How Key-Trade’s Device Fits Real Trading Platforms
- What Most Traders Get Wrong About Keypad Setup
- Get a Dedicated Keypad Built for Multi-Platform Execution
- Sources
- FAQ
Trading Keypad Ergonomics: Comparing the Top Device Types
Picking a device comes down to how many actions you need at your fingertips versus how much desk space you’re willing to give up. A compact keypad wins on speed and footprint. A macro pad with a screen wins on visibility. A full keypad wins on breadth, since it doubles as a numeric entry pad for lot sizes and price levels.
| Device | Form factor | Safety features | Integration | Programmability & memory | Best for |
|---|---|---|---|---|---|
| Key-Trade Professional Trading Keyboard | Full keypad with integrated numpad | Configurable confirmations on high-risk actions | Broad platform compatibility (TradingView, MT4/5, NinjaTrader, and more) | Programmable buttons, device-specific software | Traders who want one hardware unit for both quantity entry and execution |
| XBE-24 BEAR (PI Engineering) | Compact 24-key programmable pad | Modifier layers, relegendable keys for visual separation | USB HID keyboard/mouse emulation | Onboard memory, RGB-coded key sets | Traders who want single-finger speed on a small desk footprint |
| Elgato Stream Deck | LCD macro pad with knobs, multi-page | Configurable kill switch, page-based isolation of risky commands | HID over USB, works alongside any platform running on the same PC | Multiple pages, live icon feedback | Traders who want visual state confirmation before pressing anything |
| PI Engineering XBE-24 BEAR (X-keys style) | Same X-keys hardware family as above | Same modifier/relegendable key protections | Same USB HID support | Same onboard memory architecture | Traders standardizing on the X-keys ecosystem across multiple pads |
A few buying notes matter more than spec sheets suggest. Confirm the device’s HID and onboard memory specifications before buying, since a keypad that can’t store profiles locally will lose its mappings if the host software crashes mid-session. Wired connections beat wireless for anything execution-critical. Dropped packets on a wireless flatten button are not risks worth taking.
- Color-code or relegend your riskiest buttons so your eyes catch them before your fingers do.
- Confirm OS support (Windows vs. macOS) before ordering, since some macro pad software is platform-limited.
- Traders running Stream Deck-style pads often start with three or four mapped commands and expand only once those become automatic.
- A full keypad with numpad reduces the need for a second peripheral, which matters on desks with three or four monitors already eating surface area.
How Should You Position a Keypad on Your Trading Desk?
Ergonomic placement starts with the reach zone, not the desk layout. Your elbow should sit near 90 degrees, your wrist should stay neutral, and the keypad should live inside the arc your forearm naturally sweeps without you leaning forward. That guidance lines up with broader trading desk ergonomics research, which also recommends monitor tops at or slightly below eye level and a viewing distance of 24 to 30 inches.
Where exactly the keypad sits depends on your dominant hand and your mouse habits. Right-handed traders who mouse with their right hand often place the keypad to the left of the keyboard, within easy reach of the left hand, so the right hand never leaves the mouse during execution. Left-handed traders flip that arrangement. Some traders wedge the keypad directly between keyboard and mouse, which works only if you have the desk depth to spare and don’t mind a slightly wider reach for standard typing.
Desk setup does the heavy lifting here. A keyboard tray with negative tilt, a sit-stand desk, and a monitor arm all reduce the lateral reach that causes shoulder strain over long sessions. Adjacency between mouse and keyboard matters just as much as keypad placement itself, since a mouse pushed too far right forces the same repetitive strain a poorly placed keypad does.
- Mount the keypad where your hand rests naturally, not where it looks tidy on the desk.
- Avoid vertical misalignment between keypad and keyboard. A few inches of height difference forces wrist bending on every keystroke.
- Watch for long lateral mouse reach. If your mouse sits more than a forearm’s length from your keypad, you’ll break form under pressure.
- A desk at least 30 inches deep gives you room for a monitor arm without crowding your reach zone.
Pro Tip: Sit in your trading chair, close your eyes, and let your hand fall naturally toward where you’d reach for a mouse. That spot, not the center of your desk, is where your keypad belongs.
What’s the Safest Way to Map Trading Keypad Buttons?
Button mapping works best when you think in tiers, not in a flat grid of equally weighted commands. The highest-risk action on your desk, your flatten or kill switch, deserves the most deliberate placement: a button that’s physically distinct, hard to hit by accident, and ideally duplicated across two devices so a single hardware failure doesn’t leave you exposed. Traders who build redundancy into their kill switch rarely regret the extra setup time.
Below that safety tier sits your execution tier: buy, sell, and quantity presets belong on the buttons closest to your resting hand position. These are the actions you’ll fire dozens of times a session, so speed matters more than caution here.
A practical mapping structure looks like this:
- Tier one (protected): flatten/kill, cancel all orders, emergency disconnect. Use modifier layers, double-press confirmation, or tactile separation like a raised or recessed key.
- Tier two (fast execution): market buy, market sell, and two or three quantity presets on the fastest-access keys, closest to home position.
- Tier three (adjustment): bracket toggles, stop and limit nudges, break-even shifts. These tolerate a half-second more reach time.
Avoid mapping hot actions to naked letter keys on a standard keyboard. A stray keystroke while typing a note can trigger an order you never intended to place. Traders who start with a minimal set of three to six mapped buttons report fewer accidental presses than those who map everything on day one, simply because muscle memory hasn’t caught up to a crowded layout yet.
How Do You Test and Verify Keypad Mappings Before Trading Live?
Skipping the testing phase is how traders end up firing a flatten command during a live position instead of a paper one. A short, repeatable routine catches most mapping errors before they cost real money.
- Open your platform’s mapping tool, such as the TradeStation keyboard mapping dialog, and record every default assignment across the Orders, Price, Quantity, and Route tabs before changing anything.
- Map your keypad buttons to match, then switch to paper trading and fire every command at least ten times.
- Simulate an emergency flatten under a fake fast-market scenario. Time how long it takes and note any hesitation.
- Track your accidental press rate over a full paper session. Two or more misfires means your layout needs rework, not more practice.
- Export your device profile once mappings are stable, and keep a separate “safety profile” that adds confirmation prompts for live sessions.
- Confirm the device is recognized by your OS every morning before market open.
- Re-test your kill switch daily. Three to five minutes is enough.
- Keep a backup profile on a USB drive in case your primary configuration file corrupts.
How Key-Trade’s Device Fits Real Trading Platforms
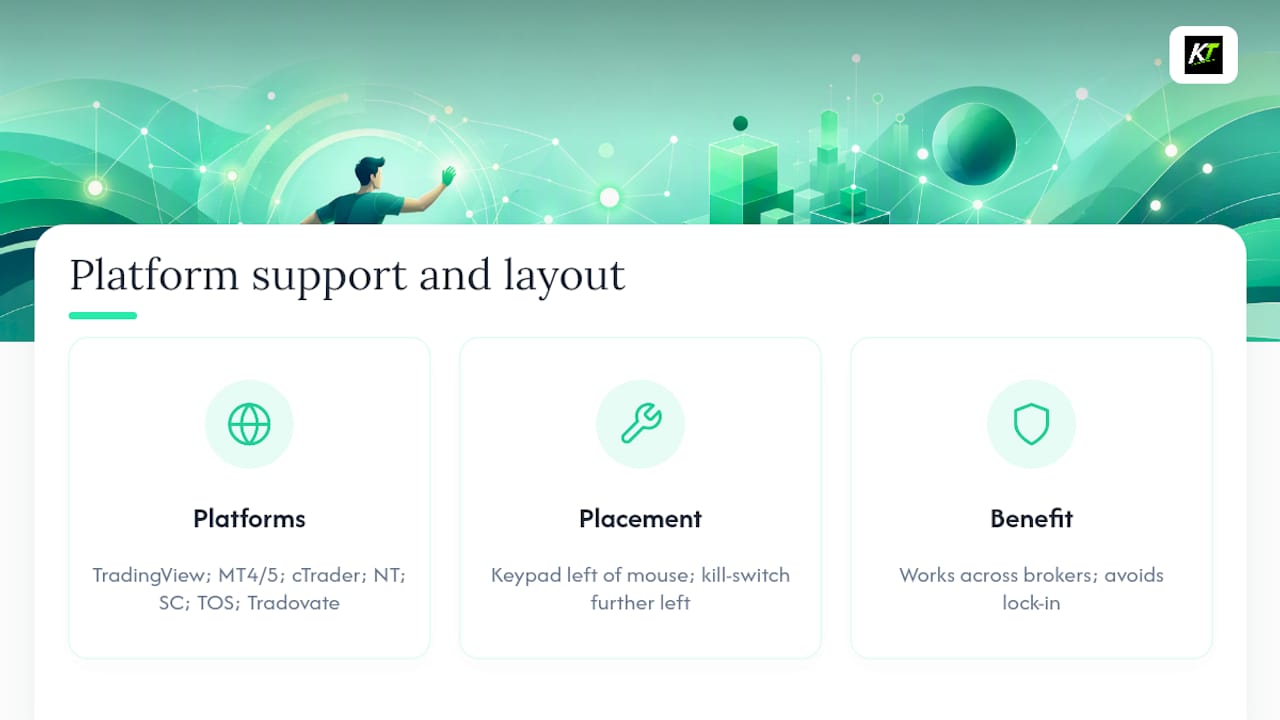
The keypad is built to integrate with major platforms like TradingView, MetaTrader 4 and 5, cTrader, NinjaTrader, SierraChart, Thinkorswim, and Tradovate, covering most platforms active traders run. That range matters because a keypad that only works with one platform stops being useful the moment you switch brokers or add a second trading account.
A layout that shows up often among right-handed scalpers: the keypad sits left of the mouse for quick order modifiers like partial closures and stop adjustments, while a Stream Deck-style kill switch sits further left, out of the primary execution zone but still within a fast lateral reach for genuine emergencies.
, and would strengthen this section further as that evidence becomes available.
What Most Traders Get Wrong About Keypad Setup
Most advice on this topic treats placement and mapping as separate problems. They aren’t. A keypad in the right physical spot with a bad mapping still causes errors, and a well-mapped device sitting too far from your resting hand still costs you tenths of a second on every trade, which adds up across hundreds of executions a week.
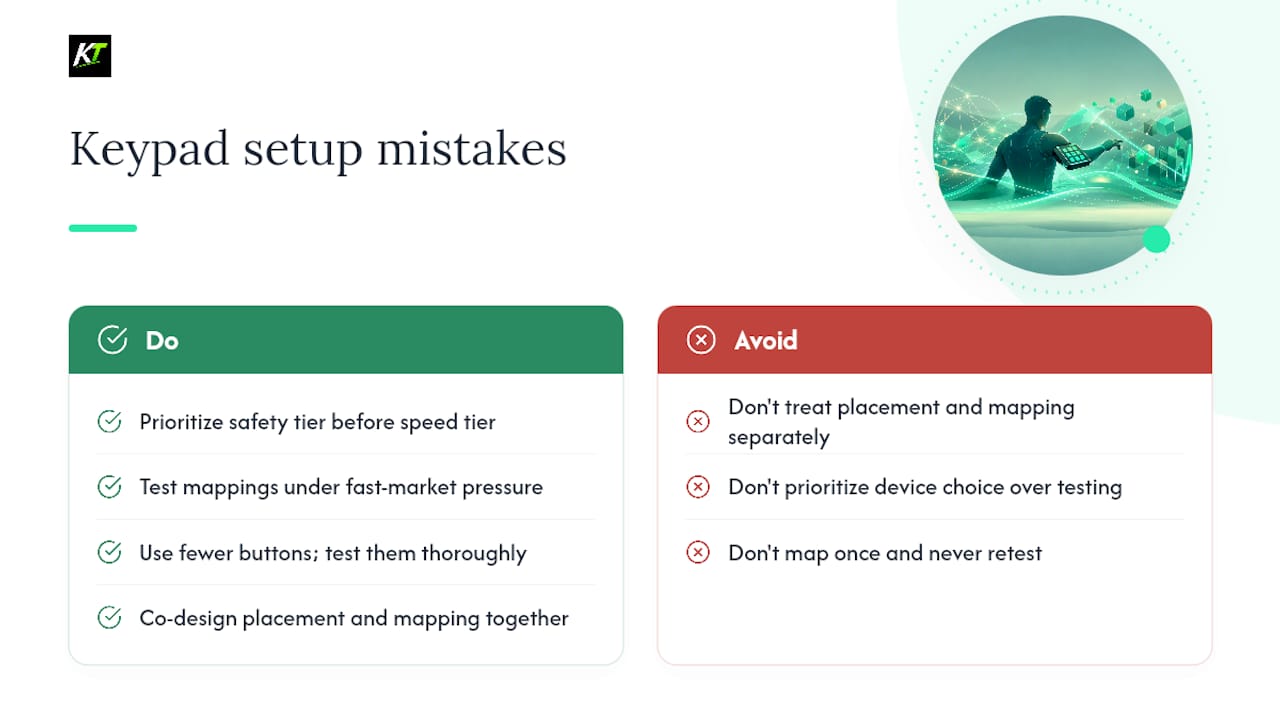
The conventional wisdom oversells device choice and undersells testing discipline. Traders will spend hours comparing a compact keypad against a Stream Deck, then map their flatten switch once and never simulate a fast-market scenario against it. That ordering is backward. The research on redundancy and minimal starting sets says the same thing: fewer buttons, tested harder, beat more buttons, tested never.
If you take one thing from this guide, prioritize the safety tier before the speed tier. A trader who can execute fast but can’t reliably flatten under pressure has built a system that fails exactly when it matters most.
— key-trade
Get a Dedicated Keypad Built for Multi-Platform Execution
The Professional Trading Keyboard is designed around a workflow including a protected safety tier, a fast execution tier, and broad platform integration. It pairs programmable buttons with an integrated numpad, so quantity entry, stop adjustments, and order modifiers can be done on one piece of hardware.
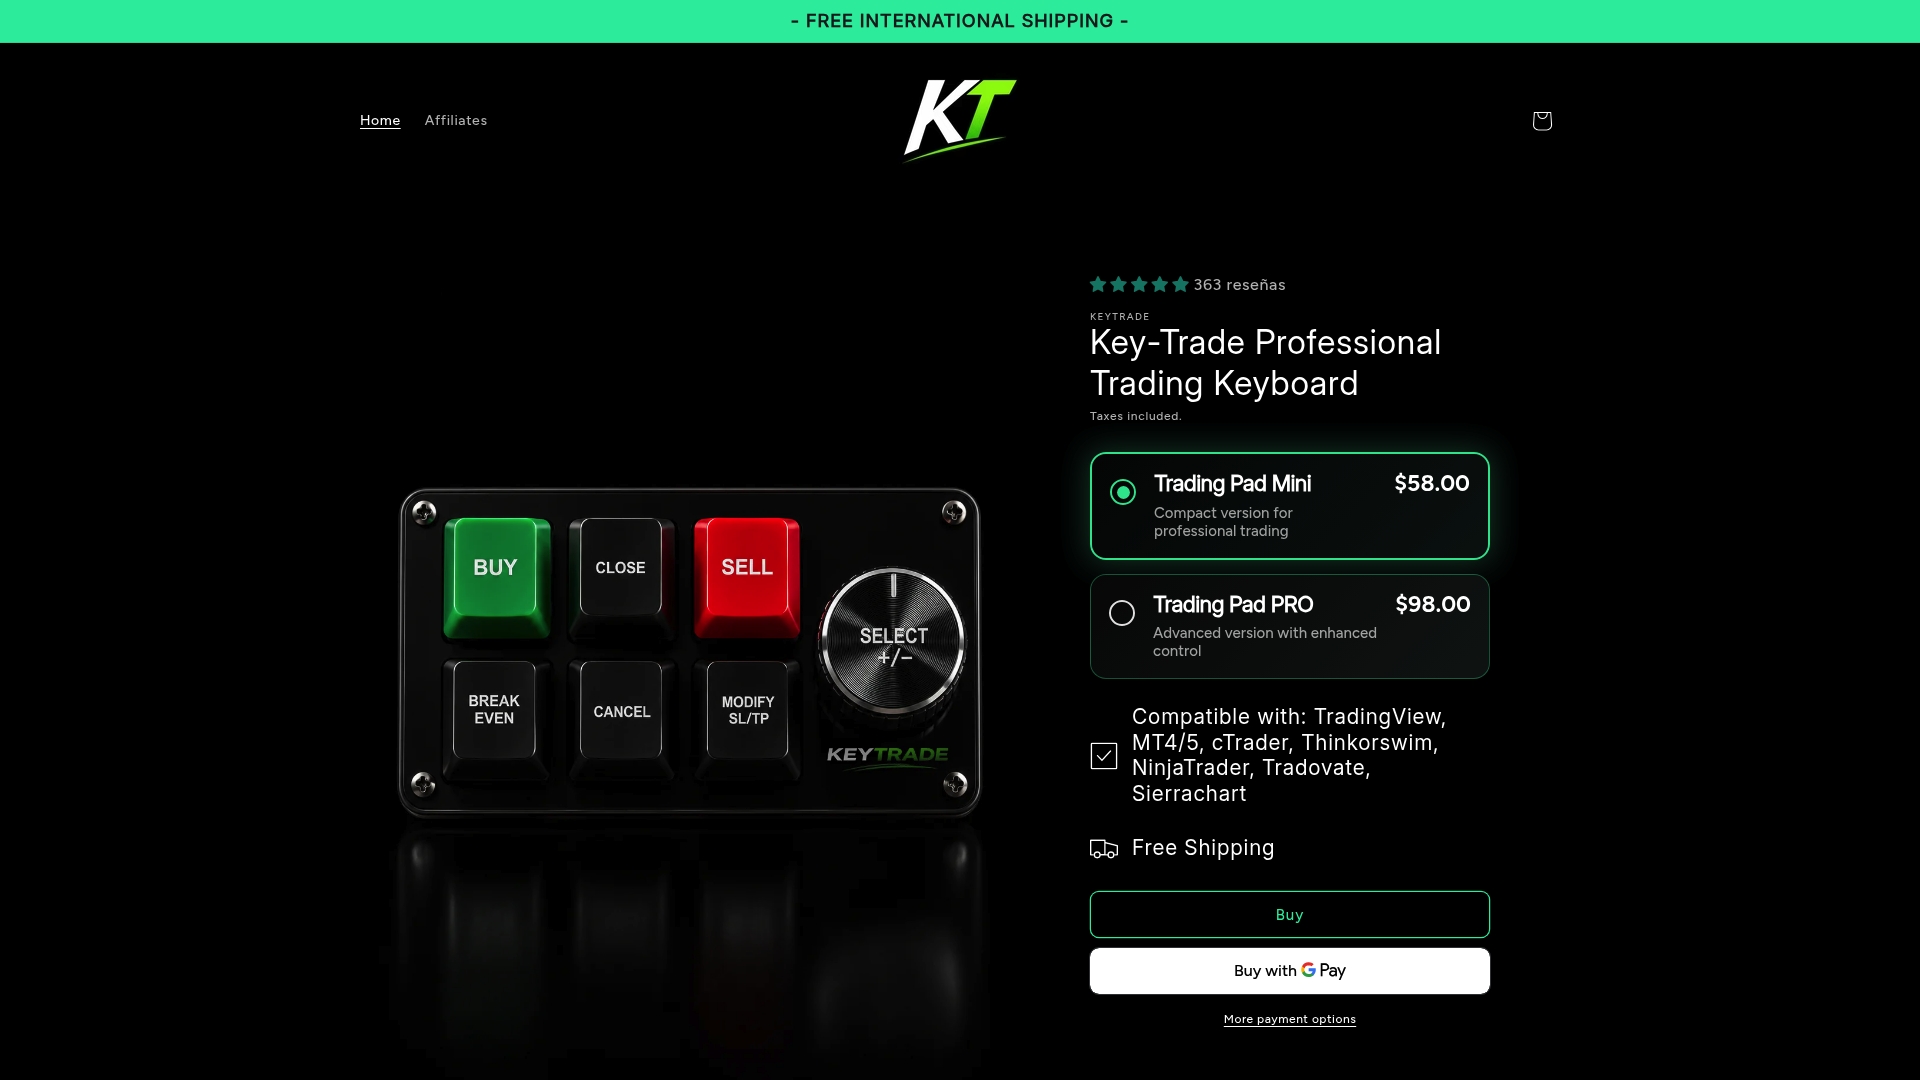
On the shortlist against a compact keypad or a Stream Deck-style pad, this device suits traders who want dedicated hardware with numpad capability rather than combining a keyboard and a separate macro pad. It works across TradingView, MetaTrader 4 and 5, cTrader, NinjaTrader, SierraChart, Thinkorswim, and Tradovate, with setup guides provided for platform-specific mapping. Pricing is available on the pricing page, with a one-time purchase and no subscription required. If your current setup still relies on function keys and hope, the Key-Trade Professional Trading Keyboard collection is the next step, and you can see exactly how the buttons map to your platform on the Key-Trade Trading Keyboard product page before you order.
Sources
For platform mapping specifics, see the TradeStation keyboard mapping dialog. For desk ergonomics, see NexusFi’s trading desk guidance. For compact keypad specs, see PI Engineering’s XBE-24 BEAR page. For desk depth and monitor arm setup, an adjustable desk like the Tenon ALXR Smart Adjustable Desk supports the reach-zone principles covered above.
- Keyboard Mapping Dialog — TradeStation Help
- Trading Desk Ergonomics and Workspace — NexusFi Academy
- How I use Elgato Stream Deck Plus as a quant command center — Dre Dyson
FAQ
What Is the 3-5-7 Rule in Trading?
It has nothing to do with keypad placement directly, but it’s worth pairing with a protected flatten button, since a fast kill switch is what actually lets you enforce those limits when a trade moves against you.
Is It Better to Have My Keyboard Propped Up or Flat?
Flat or slightly negative-tilted (front edge higher than the back) tends to keep wrists more neutral than a propped-up keyboard, according to ergonomic guidance for trading workstations. Propping the keyboard up at a steep angle forces wrist extension, which adds strain over a full trading session.
Can I Make $1,000 a Day Day Trading?
Daily results vary enormously by account size, strategy, and market conditions, and no keypad or setup guarantees a specific dollar outcome. What a well-placed, well-mapped keypad can do is remove execution delay and misclicks from the equation, so your results reflect your strategy rather than your hardware.
What Is the Best Hotkey Pad for Day Trading?
There’s no single best pad. It depends on how many commands you need at hand and how much desk space you have. A compact pad like the XBE-24 BEAR suits traders who want speed and a small footprint, a Stream Deck suits traders who want visual confirmation, and the Key-Trade Professional Trading Keyboard suits traders who want one device that handles both numeric entry and execution across platforms like TradingView and NinjaTrader.
Where Exactly Should I Place My Trading Keypad?
Trading keypad placement should keep the device inside your natural arm arc, either left of your keyboard or beside your mouse hand, with your elbow near 90 degrees and your wrist neutral. The goal is zero reach time between deciding on a trade and executing it.